
How To Keep Your Hydrangeas Happy For Weeks!
I have to be honest and say that until I saw on Instagram all of the lovely flowers people were enjoying adorning their counter tops, coffee tables, and night stands, I never really cared much for having flowers around. I mean I did, because who doesn’t love a beautiful bunch of hydrangeas or peonies, but for me it was always the thought of spending that money on something that was just going to die quickly anyway. I have even encouraged my husband NOT to bring home flowers for me (or to spend that money elsewhere, even though I appreciated his thoughtfulness) because I just hated watching them die. The funny thing is that my hubby enjoys having fresh flowers around but I was always the buzz kill in this area because I hated the whole process knowing they wouldn’t be with us for very long.
So, since my curiosity was getting the best of me and before I brought home my first bunch of hydrangeas, I was determined and set out on a mission to learn how to care for them properly! First, I talked to a few friends from Instagram (Yuni @loveyourabode was one that gave me some great advice) and then I spent some time talking to the floral department at my local markets. I do want to note here that before I start sharing what works for me, this is in no way a scientific method and I am not an expert on hydrangeas or any other flower for that matter! Through trial and error and working at it (which to me means helping them live for weeks at a time now that I know they can) is how I figured out what works and I hope by sharing it will work for you too!! And, like with anything else, it takes effort (I think I’ve said before that my sweet mother always used to say beauty is painful) and once you get used to using this process it will become like second nature. Here I’ll take you on a journey through photos with one little stubborn hydrangea showing how it pooped out on me and then how I brought it back to life…

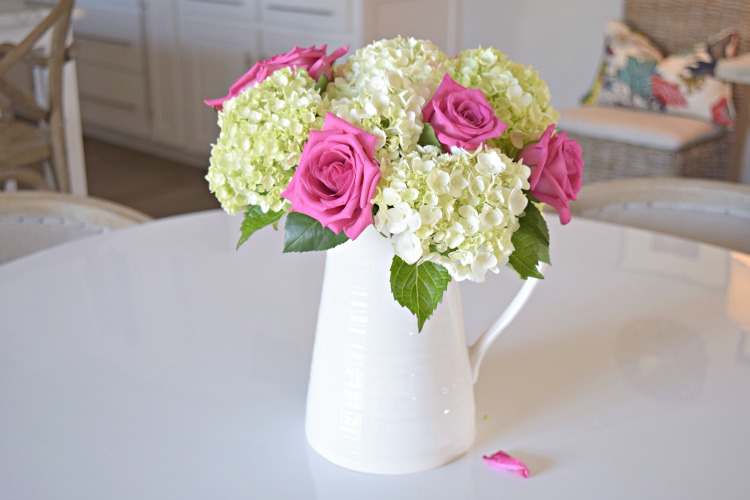
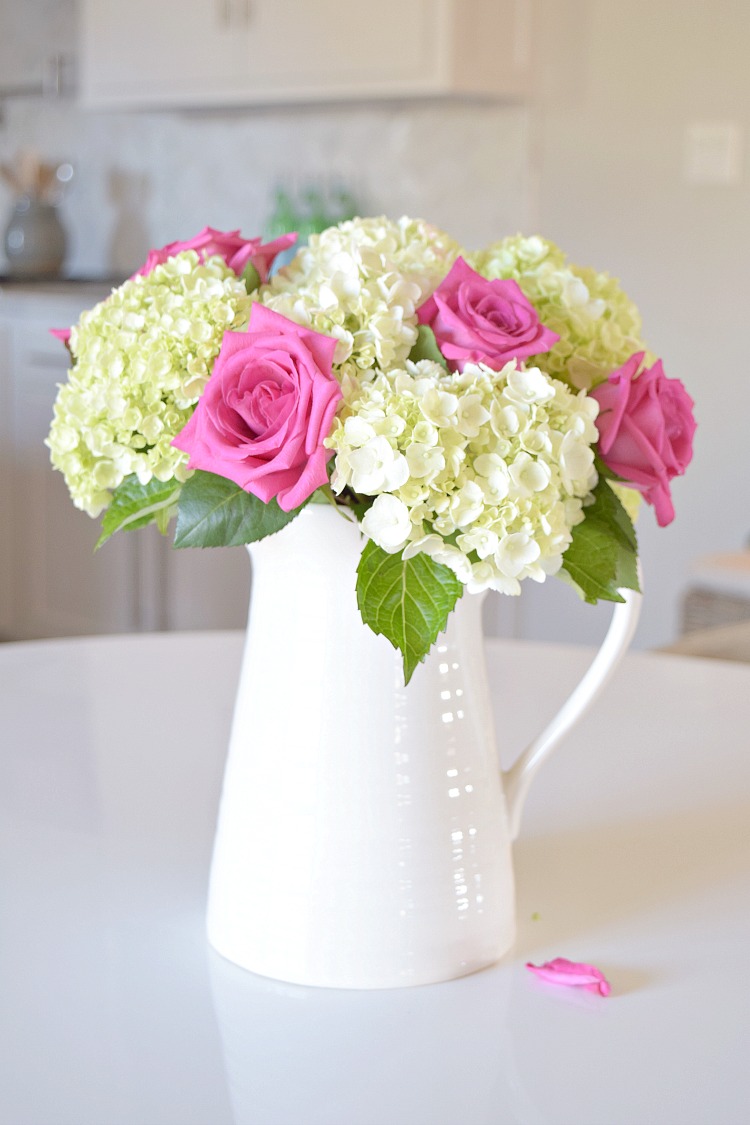
I thought I would start with a beautiful bunch of pink roses and baby hydrangeas I got for my Valentine’s table scape that you can see Here. After I was done with my table scape, I arranged them in this simple white pitcher (below) and they were a beautiful sight for sore eyes on our breakfast table for a few days. Of course the roses didn’t last long in comparison to the hydrangeas (with the exception of one late bloomer) but they were all gorgeous together while the roses were still with us…
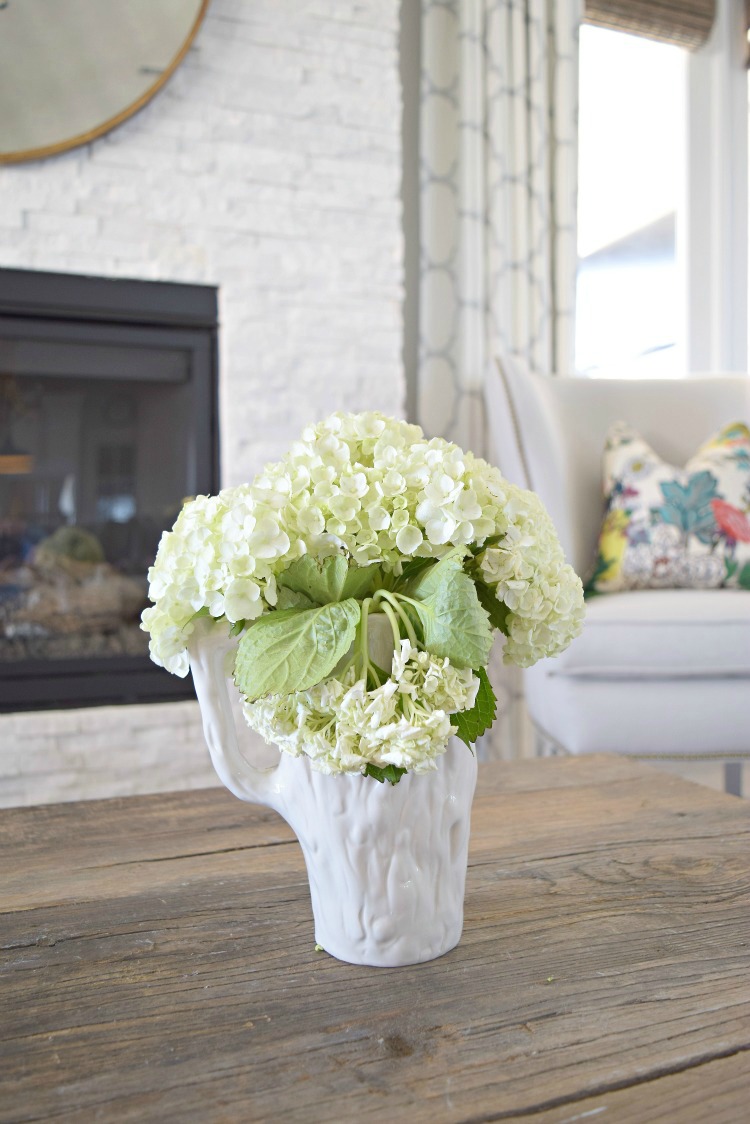
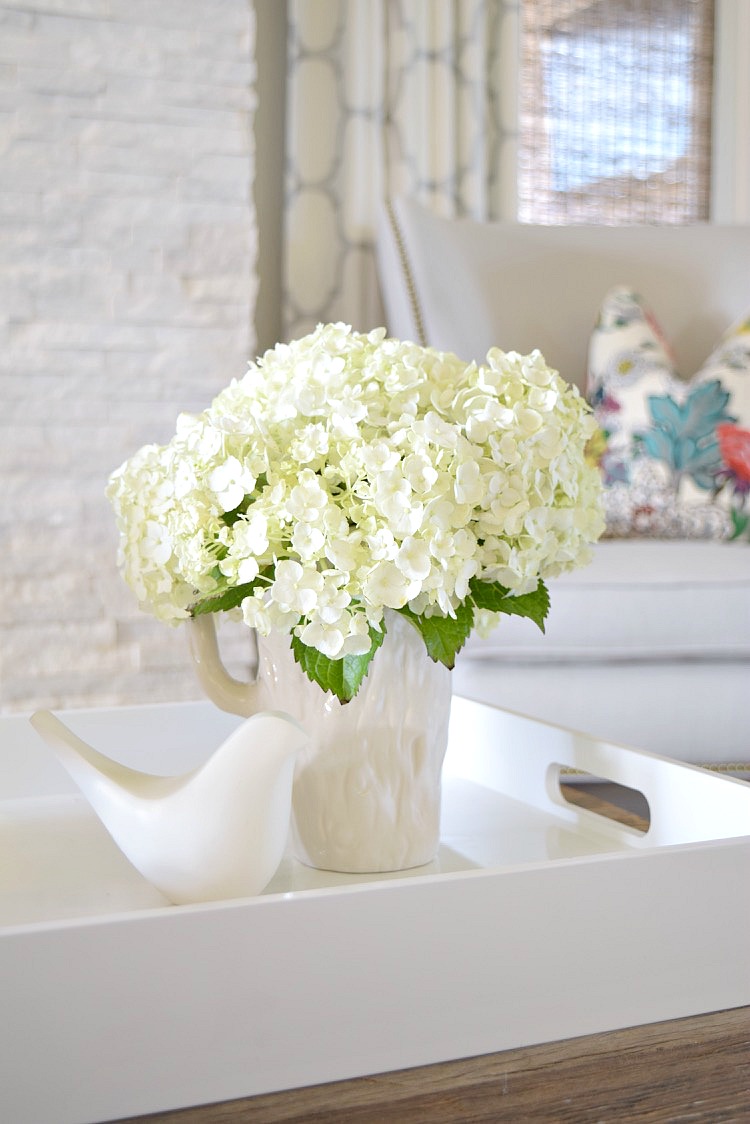
After the roses were past their prime, I arranged the hydrangeas in my favorite wood grain inspired vase from Home Goods and placed them on my coffee table. Each time I rearrange flowers in a new vase I always use fresh water along with the flower food packets (it’s called alum) that usually come bundled with your flowers. I actually get extra packets from my local market floral department as they always seem happy to give them out if you just ask. From this bunch I finally had one that pooped out on me about a week in so this is where I will share with you the process I use as soon as they arrive home with me, and each time I change out the water. But first, here is a picture of that pooped hydrangea and then I will document how I brought it back to it’s happy place…
Not very pretty, huh? Well, here is my process and remember…each step is crucial if you want to keep them alive and lovely for a long time:

- Pour 1 packet of fresh flower food (found here) into your vessel.
- Add fresh clean water on top of the alum to dissolve. If you have R.O. water (Reverse Osmosis Water) at your sink like I do I would advise using this water as it’s going to be better quality water than the water in your main faucet.
- Remove any major leaves below your water line. I do however like to keep a few leaves if they are near the top of the stem because I think the contrast in greenery makes the arrangement even prettier.
- Add flowers, arrange and enjoy for 3-4 days, then repeat. Tip: Make sure to check your water level daily and keep it up high enough in the vase as this is the best way to ensure that all stems will be submerged in water continuously and completely.
- As mentioned in step 3, I always repeat this process with a new packet of alum at day 3-4, but this time I cut the stems at a 45 degree angle before putting them back into the fresh water
UPDATE: I recently moved and no longer have R.O. water and started having a little trouble getting my flowers to last longer. Once I realized the only thing that had changed was the water I was using I started buying distilled bottle water (by the gallon – 99 cents at the grocery store) and no longer have trouble keeping them alive anymore!
If /when you have one (or all) that withers or gets badly dehydrated for one reason or another, this is the process I use to bring them back:
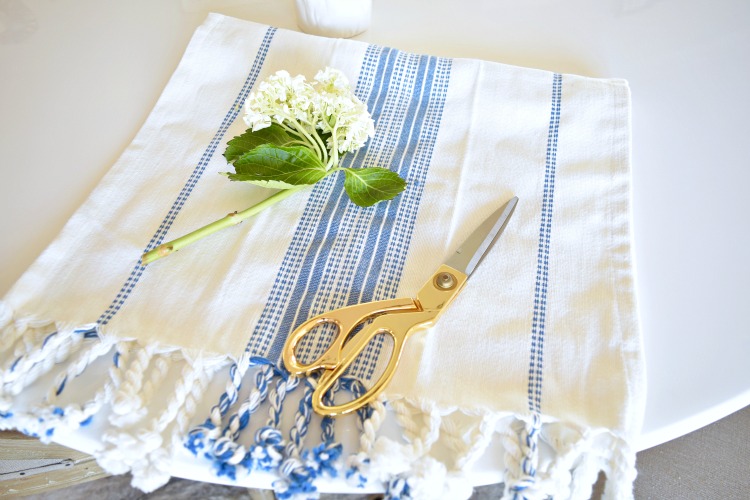
- Cut the stem again at a 45 degree angle as mentioned previously – it’s very important that you cut the stem at an angle with a quick, clean cut. I actually ordered some scissors especially for this but sent them back because I found that these pretty gold Nate Berkus stainless steel scissors worked just fine for this. The most important thing is to have sharp scissors that will give you a good, clean cut!
- Then I hydrate the blooms over night in a small bowl of water if they are badly withered. If they have just started to wither, I may skip this process.
- In the morning I pull the blooms out of the water and immediately place the stem(s) back into my vase with the remaining flowers. You should find that usually within a couple of hours they start to come back. If for some reason they don’t start coming back within a half day, I cut the stem(s) again at an angle (taking care to not cut too much off this time incase you have to cut multiple times) and place it back in the vase.
If you have a stubborn one that doesn’t want to come back, cut the stem at an angle as many times as you need to to give it ample opportunity to come back giving it at least two hours in between cuts to revive. I’ve had some where I had to cut the stems 3 and 4 times to get them to come back, but they always do (and that scenario is rare)!
Another point to note here is that I know a suggested tip is to boil the stems in water and I know this works but, it’s just too much of a process for me so I just stick to the fresh clean water in a clean vase (always wash your vase with hot soapy water when refreshing your water, or grab a new one!), snipping the stem at an angle and using R.O. or bottled water (if your tap water isn’t the best).
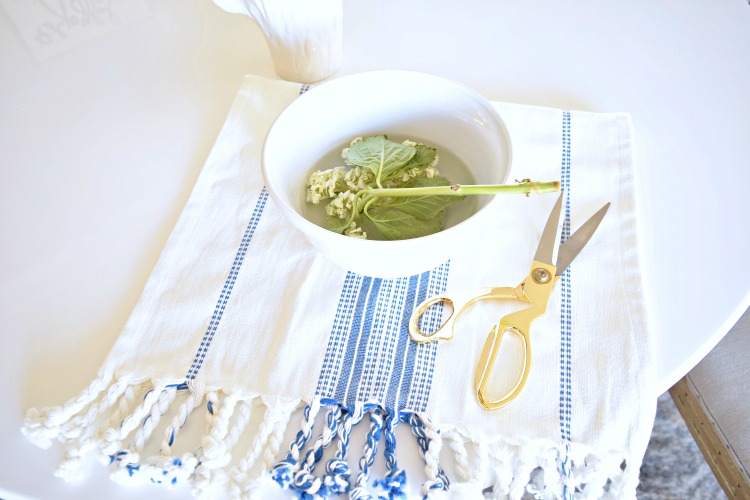
Here is my poor withered hydrangea I showed you above…
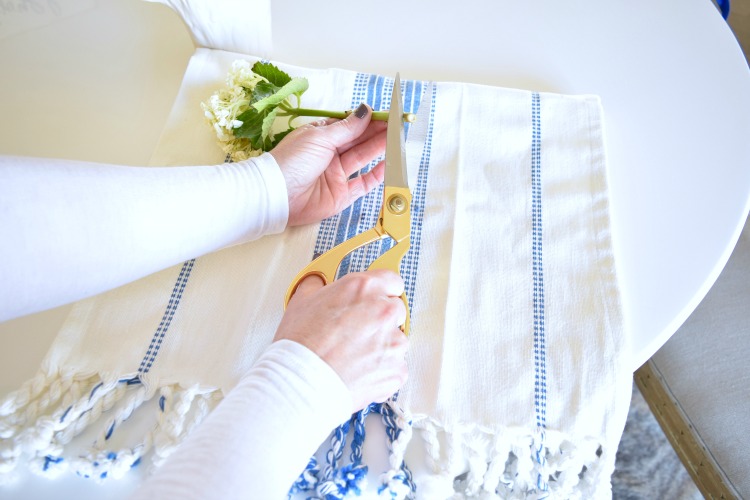
Cutting the stem at a 45 degree angle…
Hydrating blooms in bowl of fresh water over night…
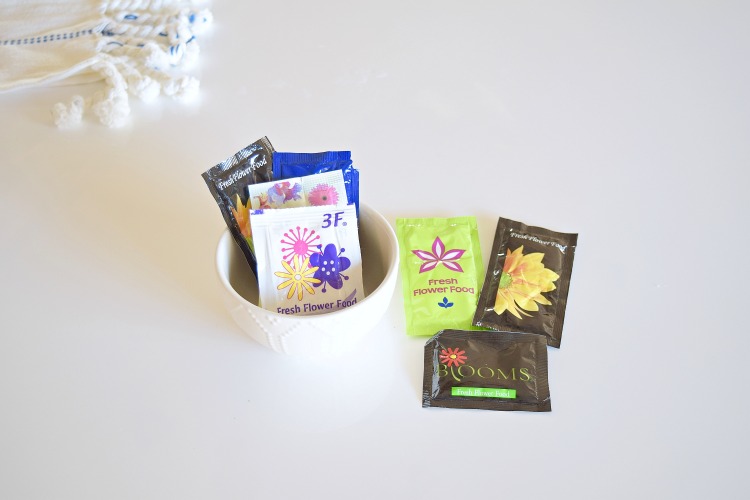
Here are some of the packets of alum that you can grab at your local market or where ever you buy your fresh cut flowers but you can also buy them in bulk (source @ bottom of post)…
Shop these Items

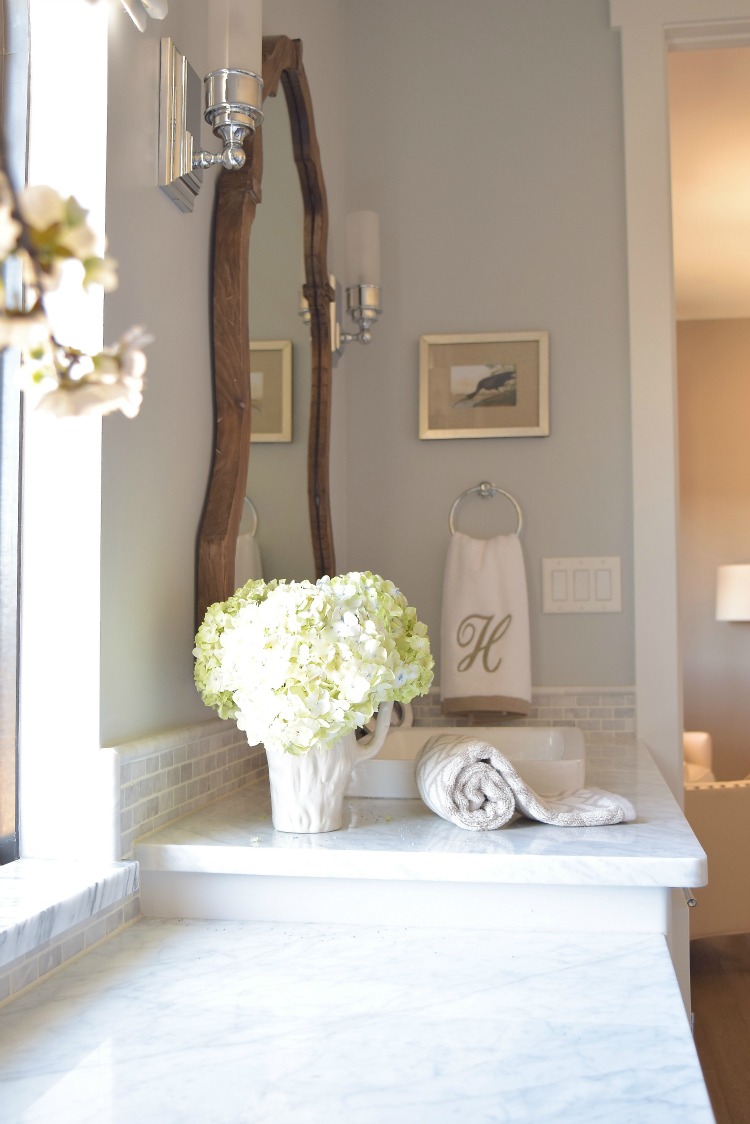
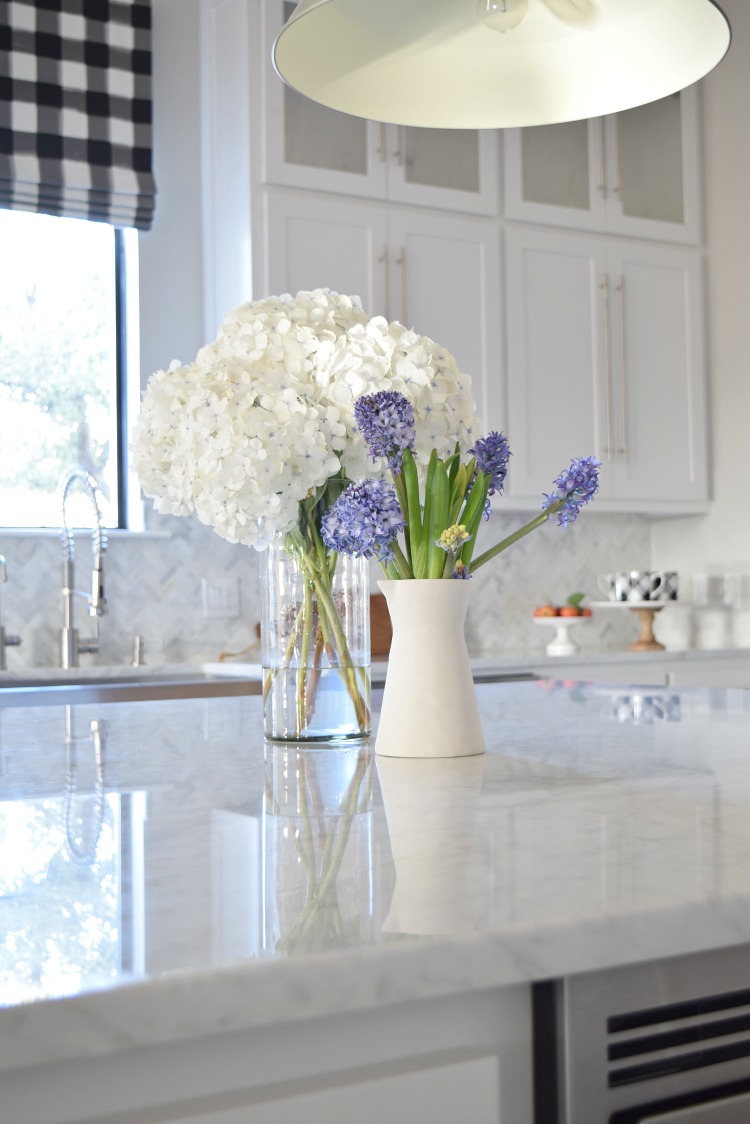
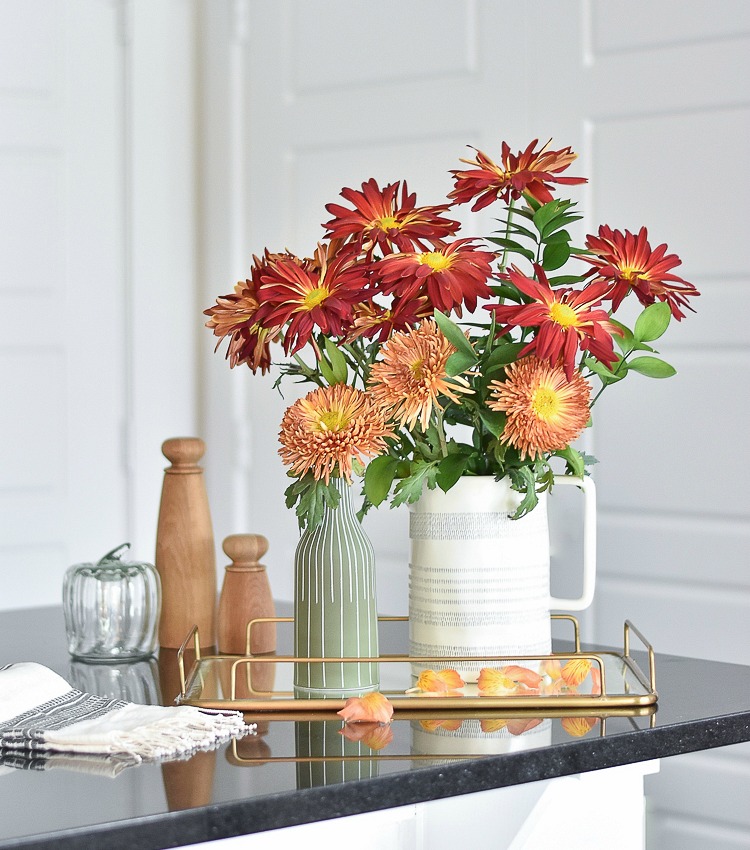
Here is my previous batch of hydrangeas that I like to refer to as my super batch (next 3 photos only)! They were with me for almost 6 weeks before they started to look so ratty that I was ready for them to be gone (but believe it or not they were still living:). This first photo of them on my kitchen island was within the first couple of days after I brought them home from the market…

Get the Look
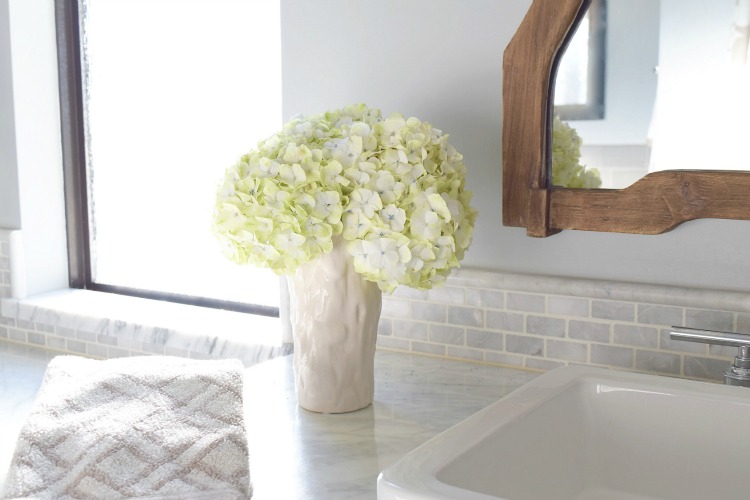
Here they are about 3 weeks later adorning my bath vanity so beautifully…
And this is about 1 week later (so about a month in)…
Get the Look
And here is my revived hydrangea (below) that I’ve been sharing with you in this post. This one actually gave me a little bit of trouble as I had to cut the stem twice once I put it back in the water the next morning to get it to come back but, it did come back! You might notice that the leaves turned a little brown on the edges but that’s ok, at least it came back and it’s still doing fine today. And as of today, I’ve had this bunch for about 2 weeks and they are very happy campers in place back on my coffee table…

Get the Look
I want to reiterate again that this is not a scientific method and is only what has worked for me! But it does work every time I follow these steps and if you do the same, I promise this process will become easier and easier. One more little tip to add to all of this is that as soon as you see one starting to whither (and so that you can cut out the soaking over night step) cut the stem at your 45 degree angle and place back it in the water right away. If it’s getting close to time to change the water out again then go ahead and do that as well (with a new packet of alum) because it can only help.
I hope this post was helpful to you and please don’t hesitate to leave comments with questions below. I love hearing from you and appreciate every word and thought!!
XOXO, Bree
SHOP THIS POST
Nate Berkus Superior Quality Stainless Steel Limited Edition Shears With Zinc Alloy Handle
Kitchen Sink
Carrara White Italian Carrera Marble Herringbone Mosaic Tile 1 x 3 Polished
Cut Flower Food Floralife Crystal Clear 200 powdered packets 2.2 Lbs
Mocha Chiang Mai Dragon Decorative Pillow Cover made with Schumacher Designer Fabric
Parisienne Cafe 30.25″ Bar Stool
Large Rectangle White Lacquer Tray
Gallery Frames – Antique Silver
*Affiliate links used


I loved reading your detailed instructions. Your pictures are gorgeous and you made the steps so easy to follow!!! I have two stems soaking right at this moment!
So glad you liked it, Jennifer!! Thank you also for taking the time to stop by…appreciate you so much my friend:))
Bree, I did not know they could be revived! Whenever I have one that starts wilting, I check the time and declare its death (haha). No, but seriously, I would pluck it out and toss it… no wonder I didn’t think I could get hydrangeas to live past three days! Thank you so much for sharing; I cannot wait to get a new batch to try your method!
Absolutely, Kelley! You can make those babies live for weeks!! I promise if you’ll put these steps in to practice you will have no trouble at all! Thanks so much for stopping by and please keep me posted once you try it next time. Hugs:))
I love your tips and can’t wait to try this Summer on my prolific Limelight blooms from my yard in Daphne, Alabama. Congrats on your blog…I love it!
Hi Gretchen! Thanks for stopping by the blog and best of luck to you on your blooms this summer! I would love to see them and please let me know if you have any questions when the time comes:)
Such great tips Bree! I can’t believe you nursed those beauties for so long! I’m definitely going to try it! Lovely photos too!
xoxo
Thank you so much for stopping by, Shauna!! I promise you can do it too! If I can, anyone can, lol!! Have a great weekend! Hugs:)
What a great article! I love hydrangeas and when I found you on Instagram referencing this article I had to check it out! I have always been told to spritz the blooms with water every couple days as well. Have you ever heard that?
Thank you again for the great tips! Now my hydrangeas will last even longer!
Kacey
Hi Kacey! Now that you mention it, it seems as though I have heard that but I never do that. I Just try to make sure they are hydrated from below and that seems to work out just fine for me but I may try your advice next time. Thanks for stopping by and for commenting! Have a wonderful weekend!!
Thanks a lot for sharing this with all of us you actually know what you’re talking about! Bookmarked. Please also visit my website =). We could have a link exchange arrangement between us!
WOW! I had no idea! What awesome tips!!! I will definitely be trying this! Does this method work for flowers other than hydrangeas?
Hi Courtney!! I have recently also tried it with roses and although the roses don’t last as the hydrangeas, they did last longer. I think the alum works for most flowers but the hydrangeas seem to last the longest for me! Thanks for stopping by:))
Bree! I had no clue you could do this and I LOVE hydrangeas! I buy them constantly and they only last about a week MAX for me. So excited to try this! Pinning this post! LOVE your blog.. like I knew I would. 🙂
xo
Hi Erin! Thank you so much for stopping by dear friend!! You are so sweet! Let me know if you have any trouble and I’ll be happy to help you but I promise you really can keep them alive much longer if you follow my easy steps!! Hugs to you sweet friend:))
Very nice post. I just stumbled upon your weblog and wished to say that I’ve truly enjoyed browsing your blog posts. After all I’ll be subscribing to your feed and I hope you write again soon!
So glad to having you following along and thanks for taking the time to stop by the blog and for commenting! Hope to have you back soon:)
Where is your paper towel holder from? I’ve been looking for one just like yours. Love it! 🙂
Hi Angela! I found it at Ballard Designs not too long ago. Hope that helps and thanks for stopping by the blog:)
After I originally left a comment I appear to have clicked the -Notify
me when new comments are added- checkbox and from now
on each time a comment is added I recieve 4 emails with exactly the same comment.
Perhaps there exists a means it is possible to remove me from that service?
Kudos!
Hi Ellyn! I believe you can opt out when you receive an email but there is no way I can fix it on my end. I’m so sorry but if you receive another email check to see if there is a place at the bottom to click so that you will no longer receive emails. Hope you have a wonderful weekend!!
Which is a fantastic tip especially to people fresh to the blogosphere.
Simple but very accurate information Many thanks for sharing this.
A necessity read post!
I had no idea hydrangeas would last that long or that you could revive shriveled ones. I will follow your tips and save some money on my flower purchases from now on. Thanks for sharing.
You’re welcome, Leslie!! I had no idea either until I took the time to figure it all out but you are right, you’ll save a ton of money and always have pretty flowers around so it’s a win/win as far as I’m concerned! Thanks for stopping in!! Xo